How to Master Blending Modes in Photoshop
-
Easy
-
3.5
hours -
Add to
favorites -
100 out of 5
24 Reviews
Description
Once you have a thorough understanding of blending modes in Photoshop, you’ll have access to all of the most powerful ways that layers can interact with one another. This means that color toning, exposure correction, image sharpening, photo compositing, and unique special effects are all just a few clicks away.
In this tutorial, we break down all 27 blending modes that Photoshop offers, providing in-depth explanations and practical examples that are bound to help you get your creative work done faster and with impressive results.
What’s Included
39 Video Tutorials | 70+ Sample Images | Blending Mode Color Chart
Share this Tutorial


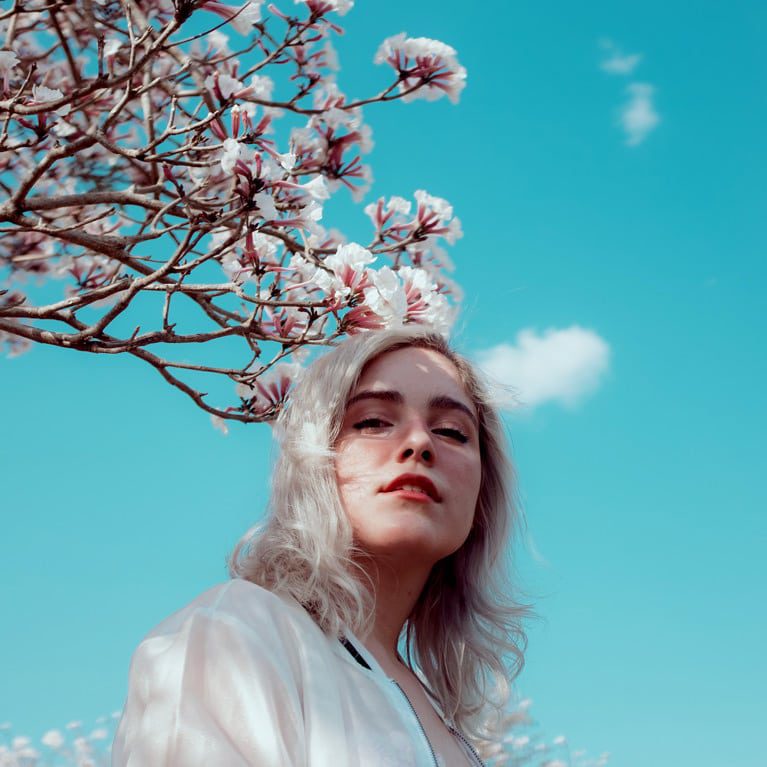
ADD LIGHTING EFFECTS
ORIGINAL
A Blending Mode Definition
A Blending Mode simply tells two layers how to work together to create a combined image. Photoshop will check any overlapping pixels between those two layers and then, depending on the blending mode you’ve chosen, decide how those pixels will blend. By the end of this tutorial you’ll be able to add clouds to a cloudless sky, make colors pop, and create scenes that otherwise wouldn’t be possible.
Over 40 Examples
With 27 Blending Modes and countless more ways to use and adjust them, mastering all the tricks may seem overwhelming. We’ve got you covered! Not only do we carefully explain the function and applications of each, we’ll walk you through some practical examples of how to take advantage of the most powerful Blending Modes in Photoshop.
A Digital Cheat Sheet
We know you’ll learn a lot as you work through this tutorial but we also hope that it can act as a reference guide for you in the future. Each Blending Mode has its own dedicated section that will help you brush up on its uses and applications. We also include a color chart that you can use to see how each blending mode works under the hood!
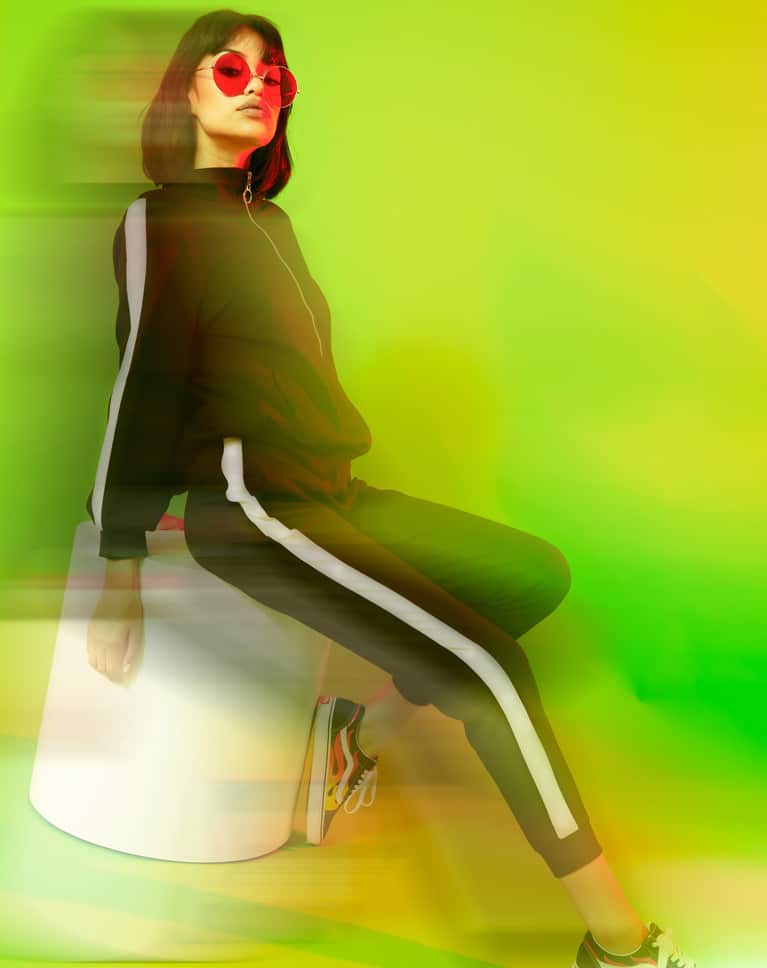
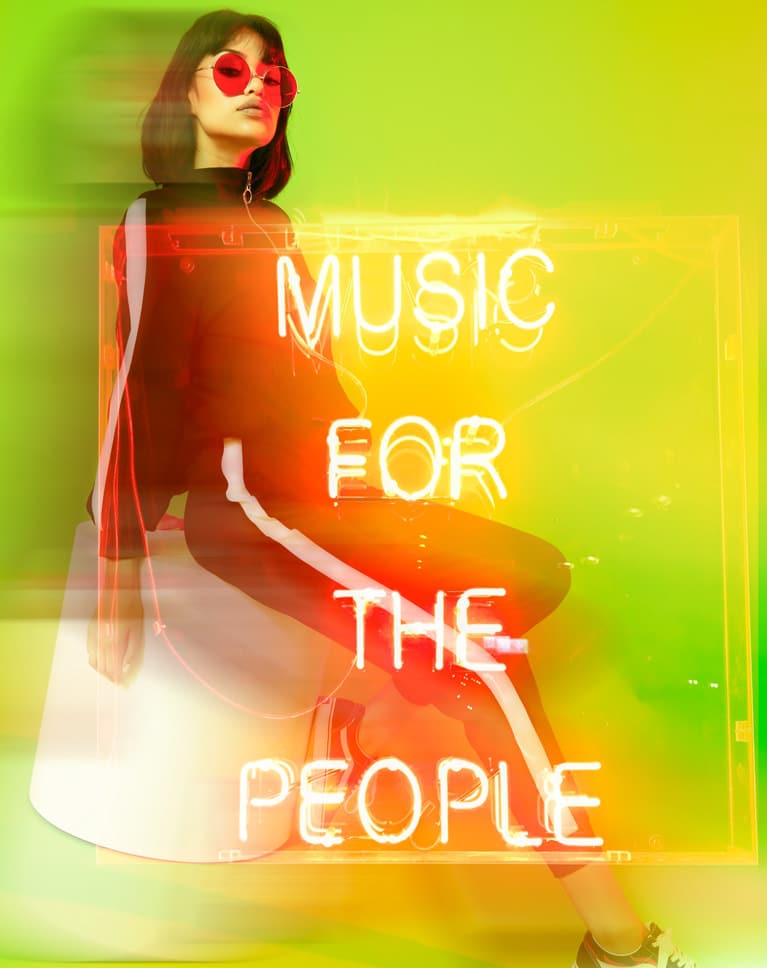
ADD LIGHT FLARE WITH COLOR DODGE BLEND MODE
ORIGINAL


ADD TEXTURES WITH SCREEN BLEND MODE
ORIGINAL
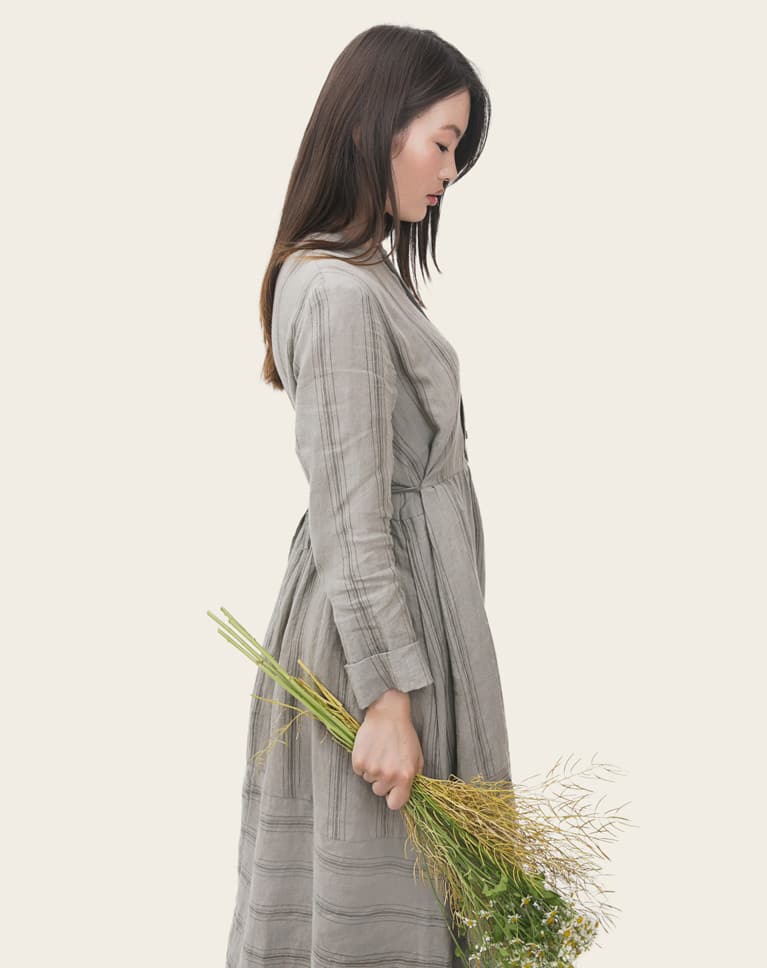
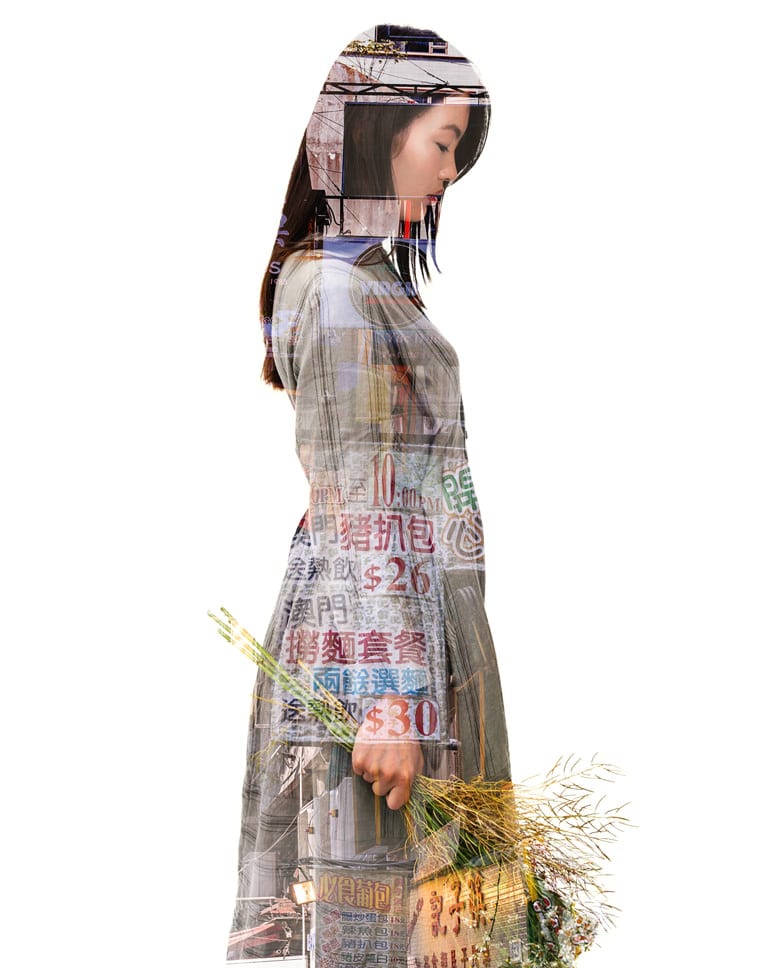
Compositing
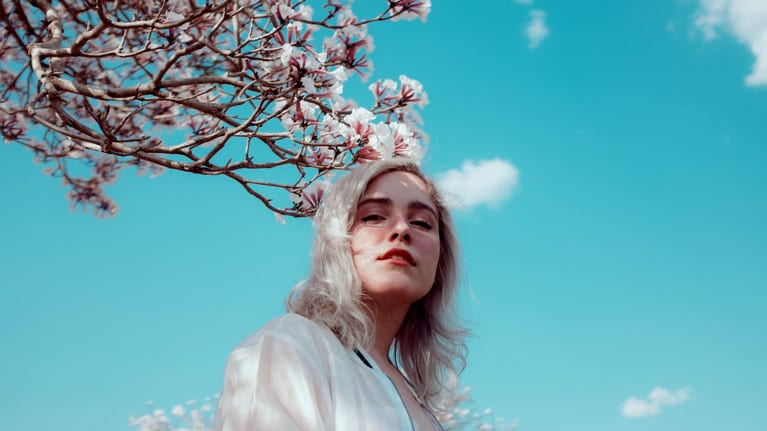
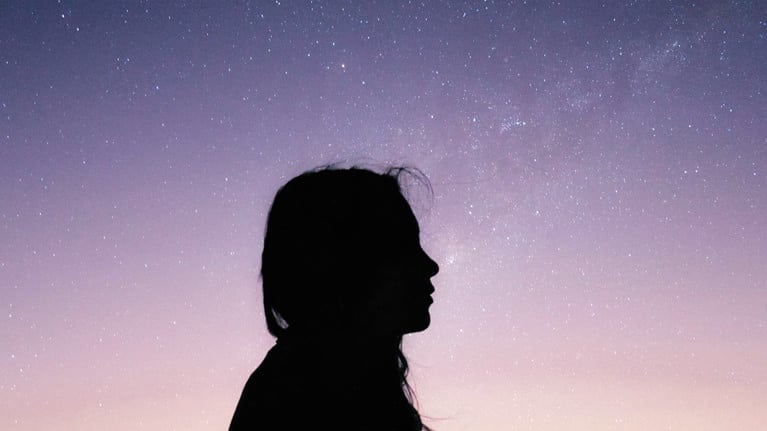
The art of combining images in photoshop is as challenging as it is satisfying. And compositing in Photoshop wouldn’t be possible without the power of Blending Modes. Add stars to a starless sky, place your subject on a new background, and more as you follow along while we share our tips and techniques.
Color Toning
Enhance the colors in an image, correct colors, or convert to black & white with Blending Modes in Photoshop. We’ll show you our tried and tested techniques and when you’re done with this tutorial, you can move on to to take your skills to the next level.
Special Effects
Add realistic textures to an image to create a distressed vintage look or combine two photos into one for a classic double exposure effect. Whether you’re working with portraits or landscapes, we’ll show you how to add dazzling effects to your images that will leave people wanting more.

AFTER OVERLAY SHARPENING
ORIGINAL
All the Blending Options
We wanted to make the most comprehensive Blending Modes tutorial possible. Learn important keyboard shortcuts to speed up your workflow, learn how to use the blending options within specific Photoshop tools, and we’ll even show you how to apply sharpening to an image using techniques often used by high-end retouchers.
Opacity & Fill
Layer blending in Photoshop begins with Opacity and Fill. They both affect the transparency of a layer in exactly the same way, the difference being that Fill will not reduce the transparency of any Layer Styles. What does this mean for Blending Modes? We’re glad you asked. Meet our friends, the Special 8.
The Special 8
While it may sound like a heist film starring George Clooney, the “Special 8” are actually eight Blending Modes in Photoshop that will react differently to adjustments in either opacity or fill. Color Burn, Linear Burn, Color Dodge, Linear Dodge (Add), Vivid Light, Linear Light, Hard Mix, and Difference have extended versatility as changing the opacity to 20% or the fill to 20% will provide two completely different results.
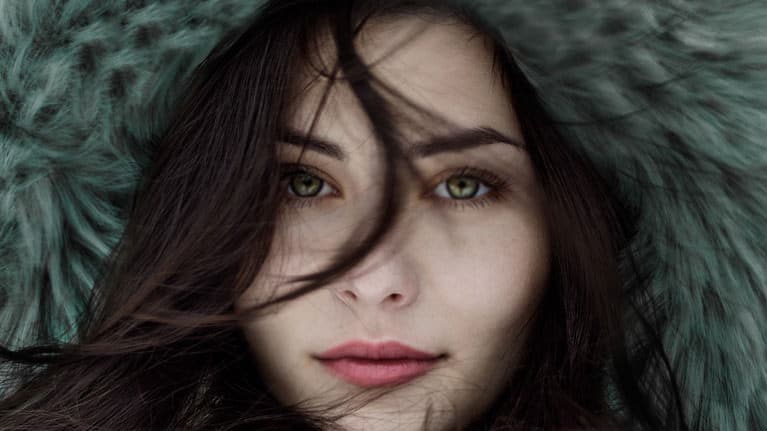
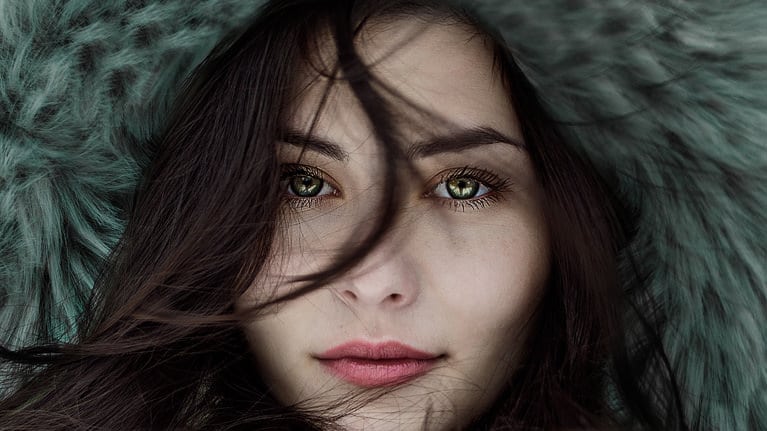
ENHANCE EYES WITH OVERLAY BLEND MODE
ORIGINAL

COLOR TONE WITH COLOR BURN
ORIGINAL
Luminosity Blending (Blend If)
For complete mastery and unrivaled control, learn the advanced techniques of luminosity blending. We’ll show you how to blend layers using Blending Modes and then take it step further by targeting where those layers will blend depending on the highlights and shadows of the underlying layer. This is a critical skill for anyone looking to take their compositing to the next level or master retouching concepts such as dodging and burning.
Commonly Used Blending Modes
With so many blending options in Photoshop, 11 of them tend to be used more frequently because of their power and flexibility. While we cover all 27, we’ll pay special attention to Lighten, Screen, Darken, Multiply, Soft Light, Overlay, Color Dodge, Color Burn, Hue, Color, and Luminosity.
Lighten
For the instances where you might need to remove a subject from a dark background or add bokeh or other light effects to an image, look no further than the Lighten blending mode. Lighten works by making the dark areas of your blended layers invisible while keeping the lighter areas visible, making it incredibly easy to make an image lighter while compositing in new elements.
DOUBLE EXPOSURE WITH SCREEN
ORIGINAL
Screen
Screen multiplies the light pixels in each image together creating an even lighter effect than the Lighten Blend Mode. Perfect for compositing stars into a night sky or for adding a soft glow around any lights in a photo.
Darken
Not surprising, the Darken blending mode is the exact opposite of Lighten. If you have a dark logo on a white background, use Darken to make the background invisible leaving a logo you can place anywhere on another image!
Multiply
One of the most used Blending Modes in Photoshop, Multiply has near endless applications. Learn to add detail and contrast to washed out areas of an image or if you’re a product photographer, learn to use it to remove a white background so you can place products in any environment.


ENHANCE COLOR WITH HARD MIX
ORIGINAL

ADD STARS WITH SCREEN
ORIGINAL
Overlay
At the top of the Contrast group, Overlay applies a Darken effect to anything dark, a Lighten effect to anything light, and makes the midtones invisible. This blending mode has wide ranging uses from adding contrast and definition to a portrait and is even used by retouchers to add an extremely high-quality sharpening effect to their images.
Soft Light
Let’s say you have two completely unrelated images – you love the color in one of them and want to apply those colors to the other. Soft Light can make it happen! Extract only the color from one image to add a beautiful effect to the other. Even better, Soft Light can also be used for dodging and burning in high-end retouching.
Color Dodge
If you’re shooting weddings or any other type of live events, Color Dodge can be incredibly useful to add interesting colors to the highlights of your photos. Better yet, Color Dodge is one of the Special 8, meaning you can use Fill instead of Opacity to ensure that your midtones and skintones of your subjects aren’t affected.
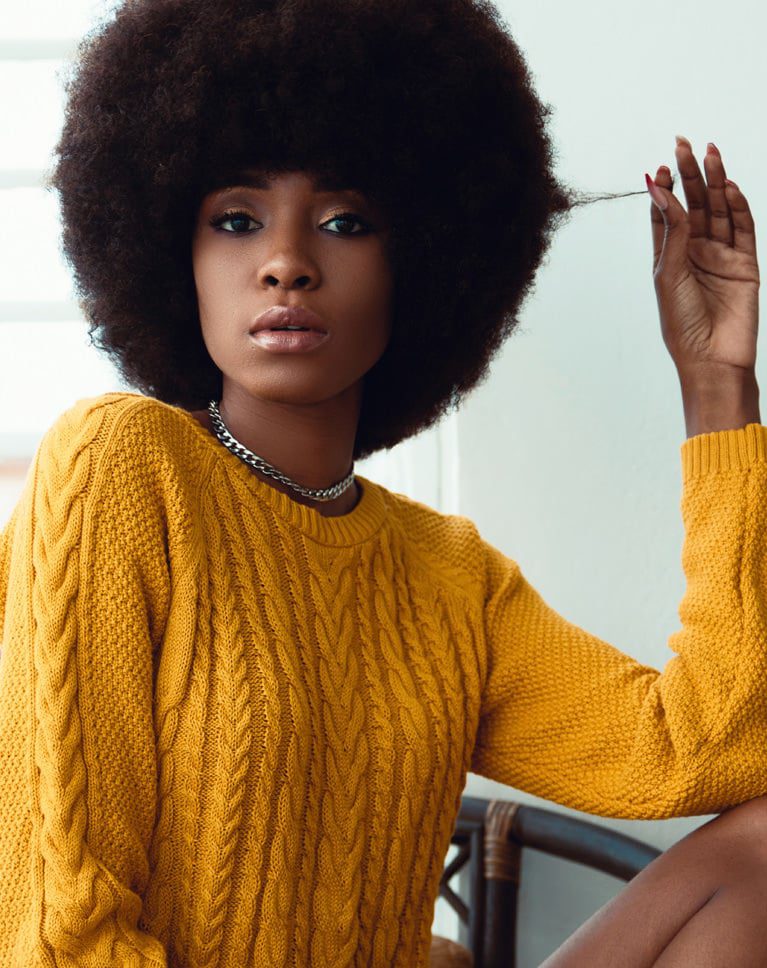
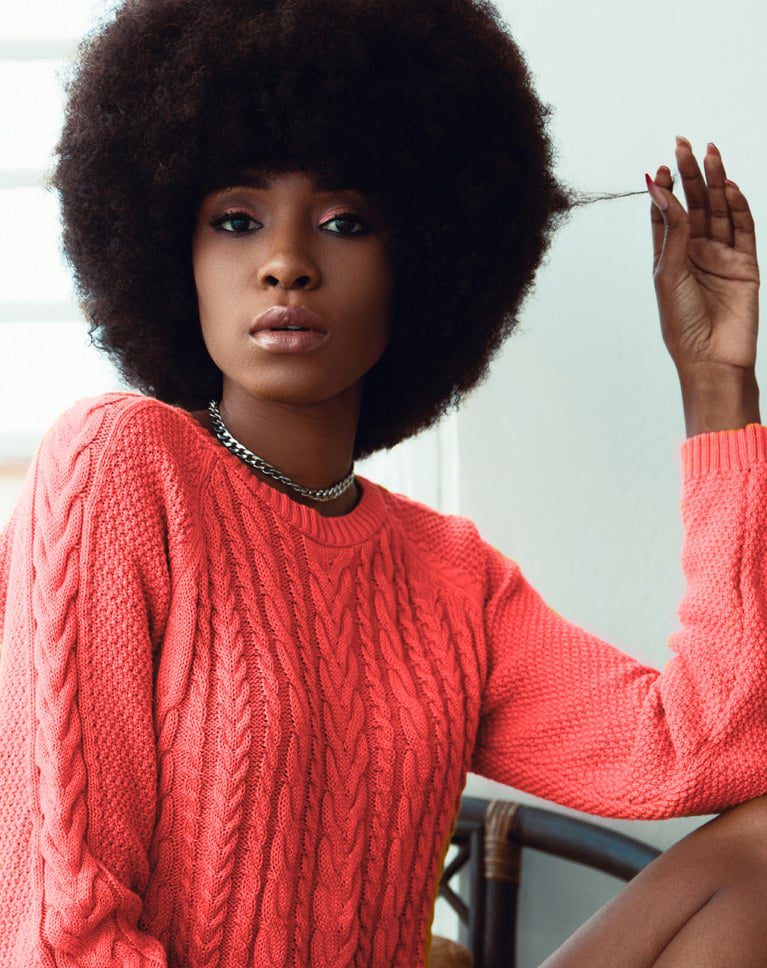
CHANGE COLOR WITH HUE
ORIGINAL
Color Burn
Great color toning can elevate any image. If you’re a landscape photographer that wants to make the colors in flowers, trees, mountains, or sunsets pop, Color Dodge can add beautiful color detail to the shadows of an image. And as another blending mode in the Special 8, it can be incredibly flexible for nailing that look that you love.
Hue
Being able to quickly and realistically change the color of anything can be useful for any photographer, especially anyone working in product photography or fashion. The Hue blending mode is particularly helpful for this purpose because it will alter color without affecting saturation, creating a much more natural result.
Luminosity
For the compositing artists out there, be ready to make the Luminosity Blending Mode your new sidekick. By using Luminosity as a guide, you can accurately adjust the colors of two different images to match more closely, resulting in a much more realistic composite.
Size: 4.25G

Content retrieved from: https://phlearn.com/tutorial/master-blending-modes-photoshop/.
seeeeeeeeeeeeeeeeeeed
please seed the download has stopped
this download fell me sick 😡😠
no seed please seed it
the download is too slow
Pls can anybody upload a direct link